WAR OF THE SPANISH SUCCESSION
The day is won by the Pontonniers!!
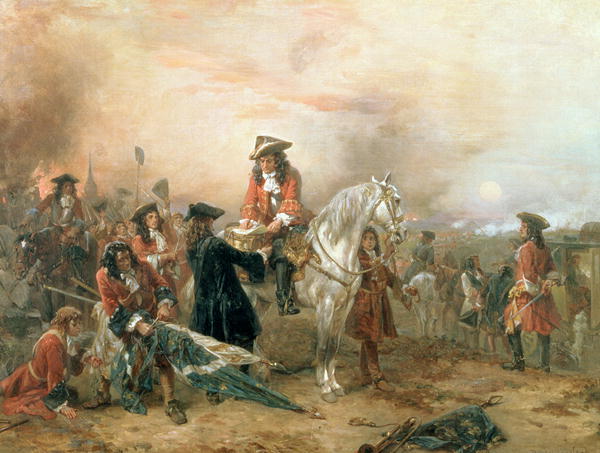
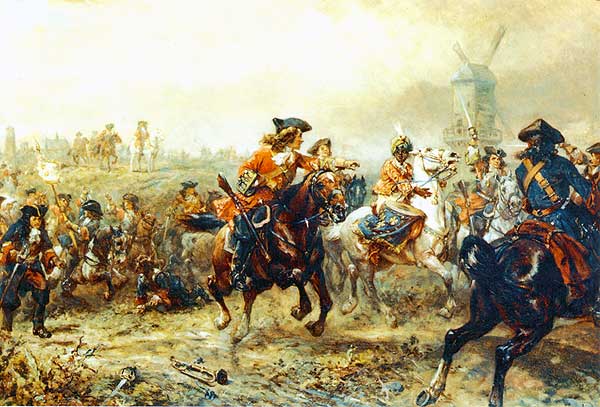
After the victory.
Last night we played another WSS games using house rules and 15mm Roundway figures. To make up the numbers I had to use some Seven Year War figures on both sides.
The scenario was inspired by a Seven Year War battle at Vellinghausen in 1761 with a few amendments to make it a little more exciting.
The table was essentially divided into three by the Lippe river, which was impassable, and a large stream with marshy banks. In addition there was a second stream, perpendicular to the first, also with marshy banks just to make things more difficult.
This effectively cut the Allied force into three – right on one side off the stream, centre between the stream and the river and left across the river and cut off from the rest as the only bridge had been destroyed. The French on the other hand were divided into only two wings – the left wing on one side of the stream and the right wing between the stream and the river. They had no forces across the river but the Allied player did not know this. The French player kept throwing dice for reinforcements across the river forcing the Allied player to deploy his artillery just in case. That was all a French bluff but it kept the Allied player on edge.
The French therefore thought they had a very good chance of destroying the Allied centre with a massive blow thereby separating the Allied left from the Allied right. The plan was sound but there were some difficulties. The centre was quite narrow and the French could not deploy their superior numbers there and also they did not realise that the Allies had a full pontoon train across the river which was ready and waiting to replace the destroyed bridge.
The second problem for the French was that the left wing failed to activate orders to advance nearly every move. The French left was formidable and posed an enormous threat to the Allied right but they advanced only once during the entire game. The outnumbered Allied force realised this after a while and started to move reserves over to the centre. This was a bizarre situation but this is what happened in the actual battle so it was realistic.
In the centre the French launched their attack from move 1 as they could see the pontonniers setting up and realised they had to drive the Allied centre off the hill before Allied reinforcements could march across the bridge and tip the balance against the French. The Allied commander immediately started to move the British Brigade across from the right to increase the Allied defence in the centre. This turned out to be a decisive move in the game. The Danish Brigade, supported by numerous artillery, pounded away at the advancing French lines while the Austrian Brigade moved around the left flank of the hill to meet the advancing French.
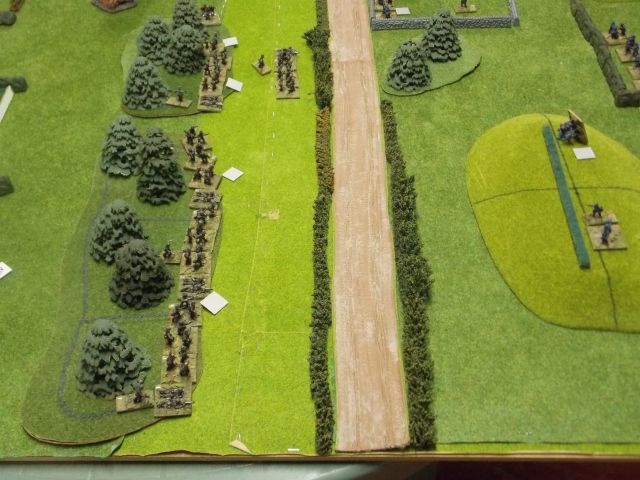
In the meantime the French had deployed their heavy artillery on the road to bring the pontoon bridge under fire in a effort to delay its construction but this met with limited success.
The French lines lost heavily as they approached the hill and in fact they did not reach it before they started to crumble under the weight of allied fire. Firefights broke out all along the front and the allies, supported by regimental guns and all of their artillery, prevailed. An Austrian Brigade came around the hill and attacked the French right while a British brigade did the same on the other side of the hill. The French right was eventually shot to pieces and the heavy guns had to be abandoned. The centre brigade also collapsed under the weight of fire leaving only the French Gardes Françaises to hold back the British while the French survivors fell back.
It was a humiliating defeat for the French. Their artillery was wasted on the pontoon bridges and they had no room to deploy their cavalry. The Danes proved to be dogged in defence and the Austrian and British Brigades not only stopped any outflanking attempts by the French but the Austrians actually drove them back and captured the heavy guns.
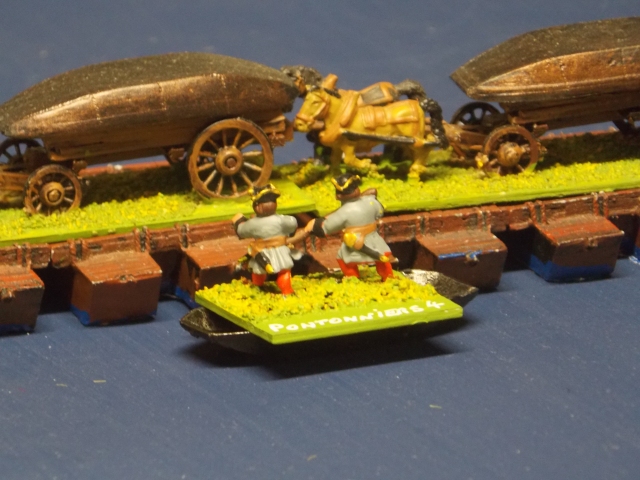
The heroes of the day however were the Allied pontonniers who worked frantically under fire to build and repair the pontoon bridge so as to get the reinforcements across in time. Once the Hessians appeared on the bridge the French knew the game was over.
All this time of course the huge French host on the left did nothing and withdrew from the battlefield in commendable order with flags flying.
It was a great game, very exciting and played by two players in one night.
Next week – Battle of Ramillies.

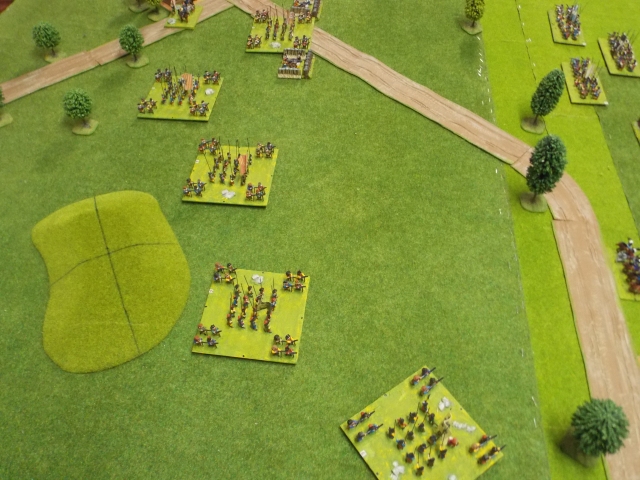
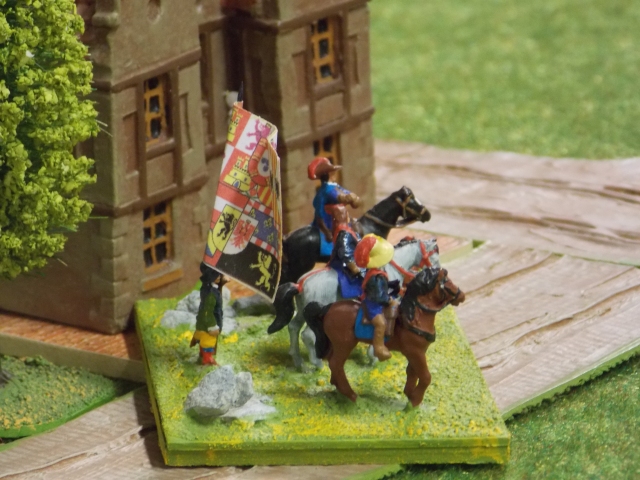
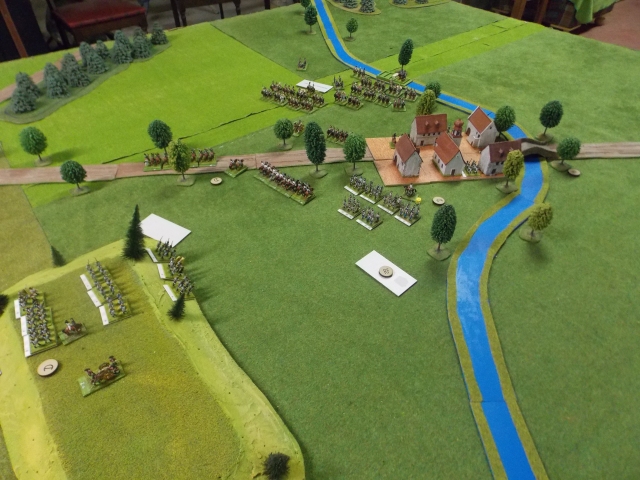
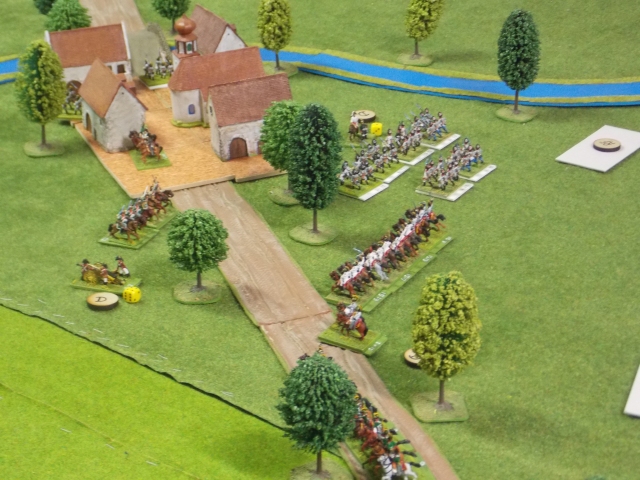
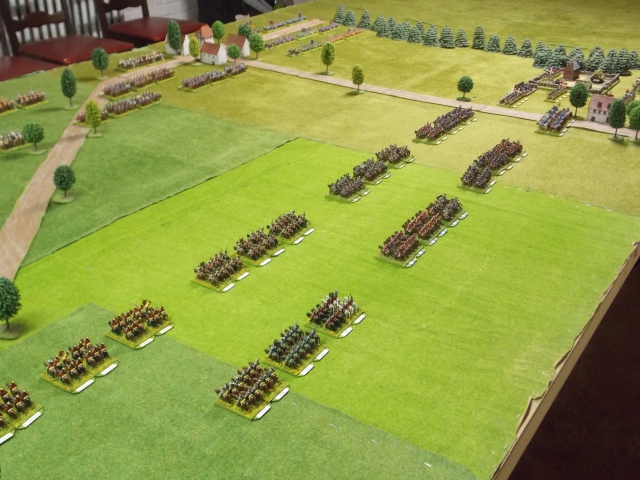
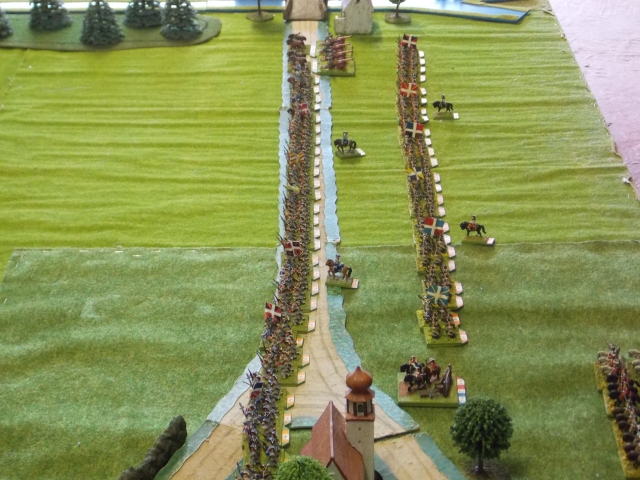
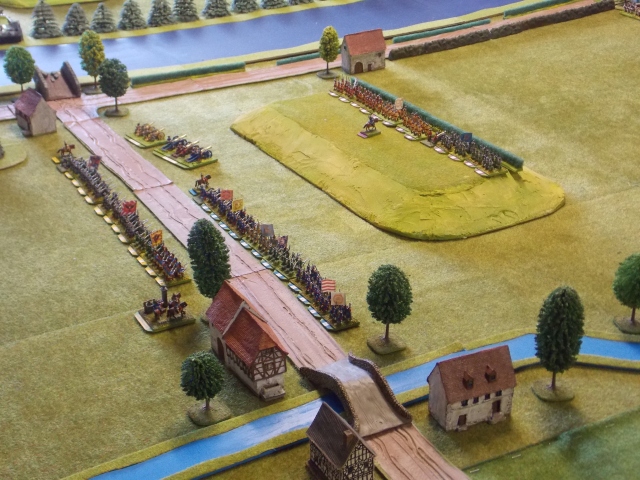
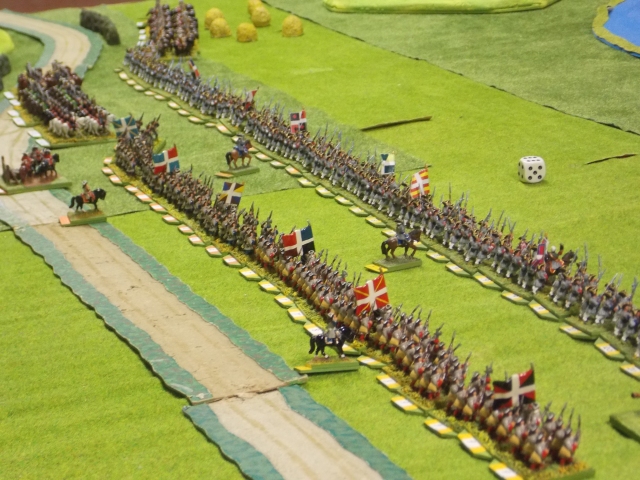
Before the game started. Not the best photograph but you can see the way the table is divided in three by the river and the stream and the perpendicular stream as well. The Allies are on the left and the French on the right of the photograph. You can also see the Allied left across the river and the broken bridge. The fortress in the distance is only for show and was not garrisoned.
.
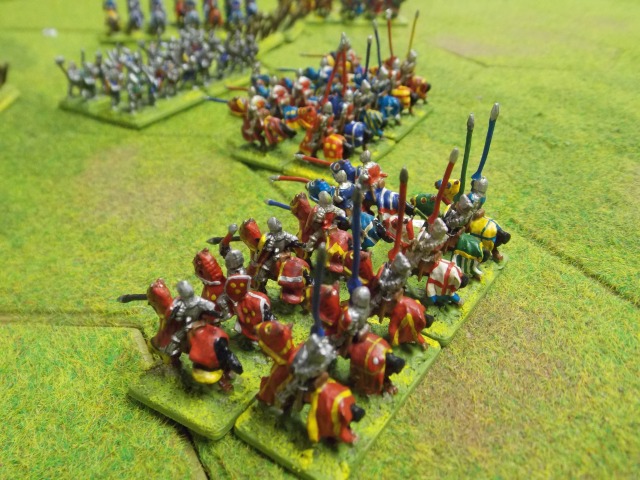
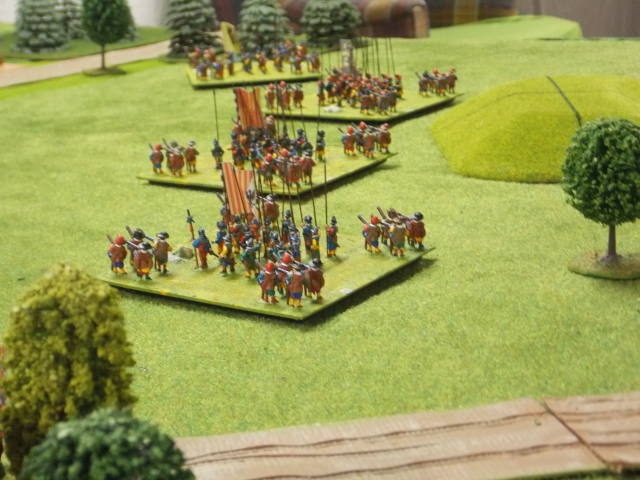
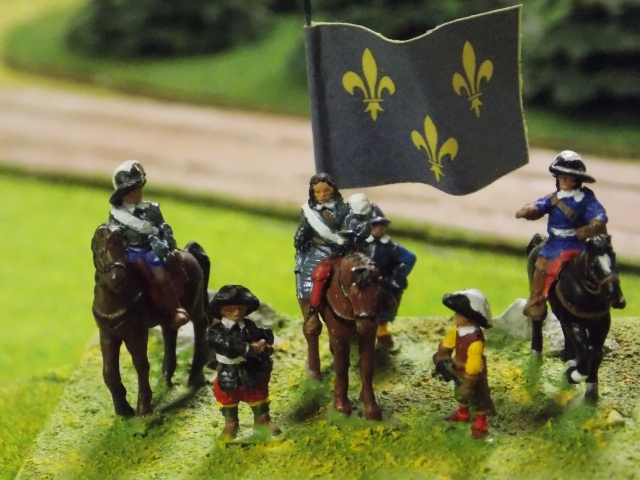
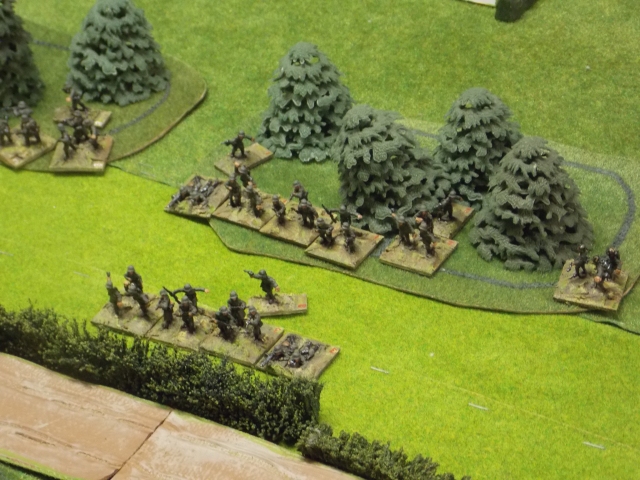
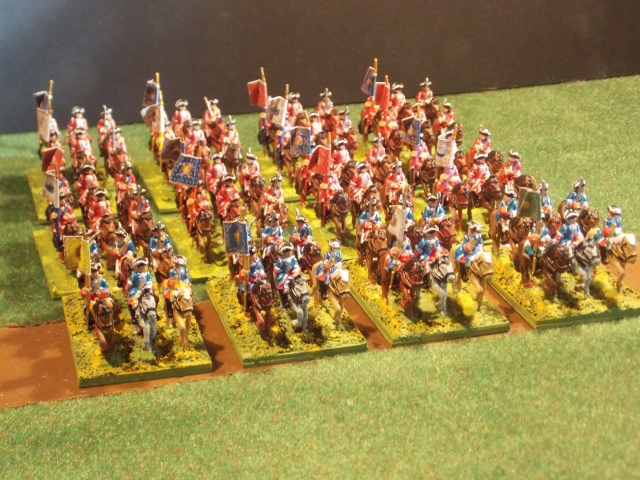
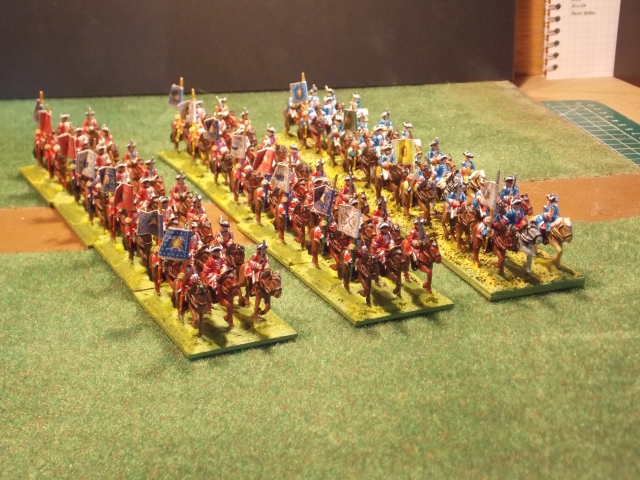
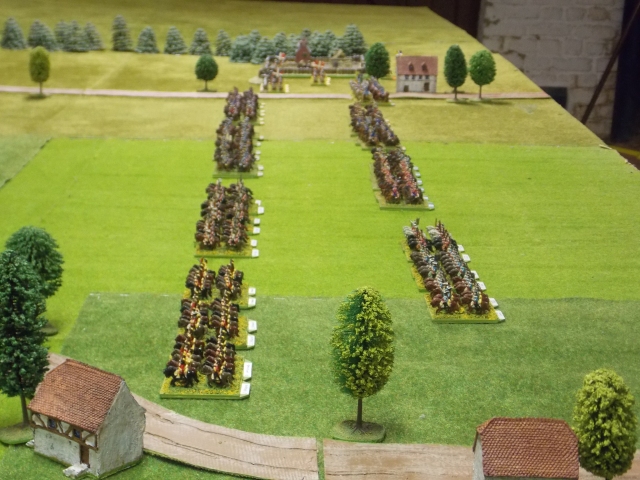
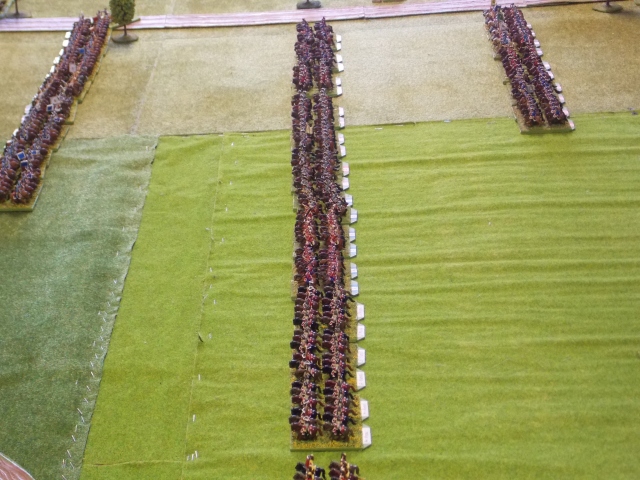
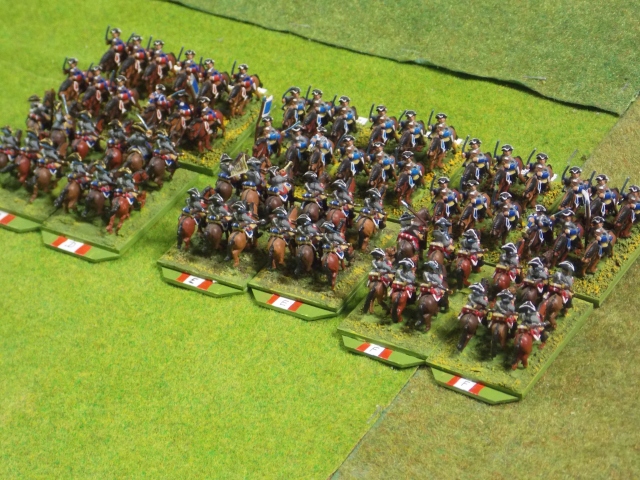
The French left drawn up for battle.
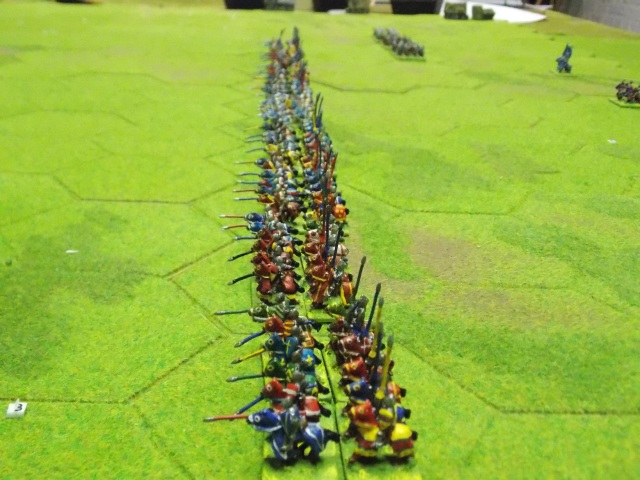
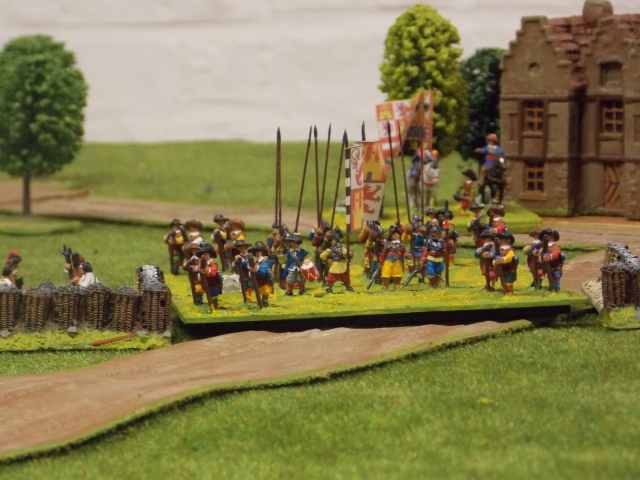
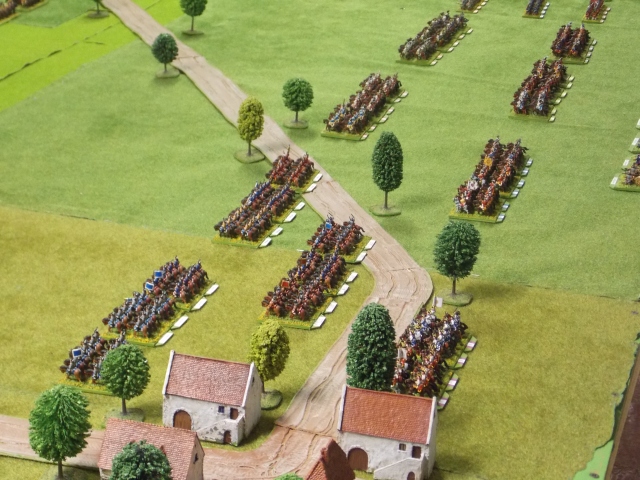
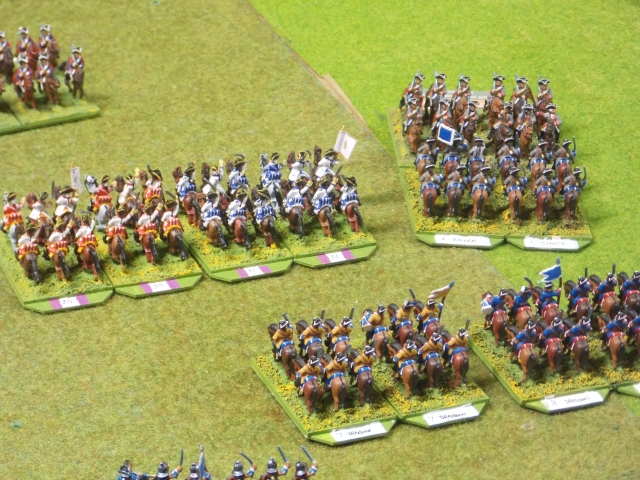
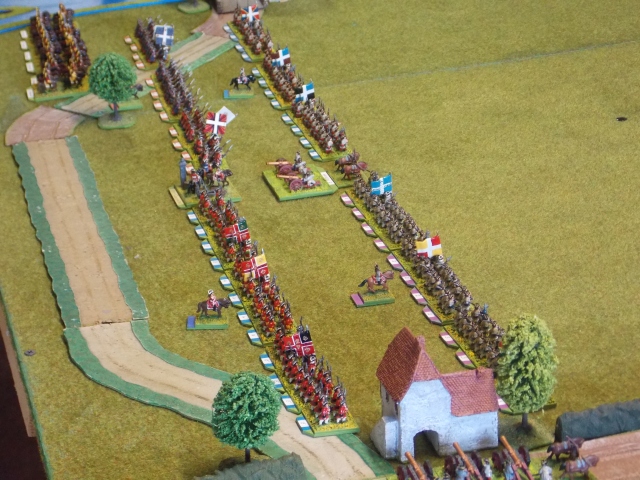
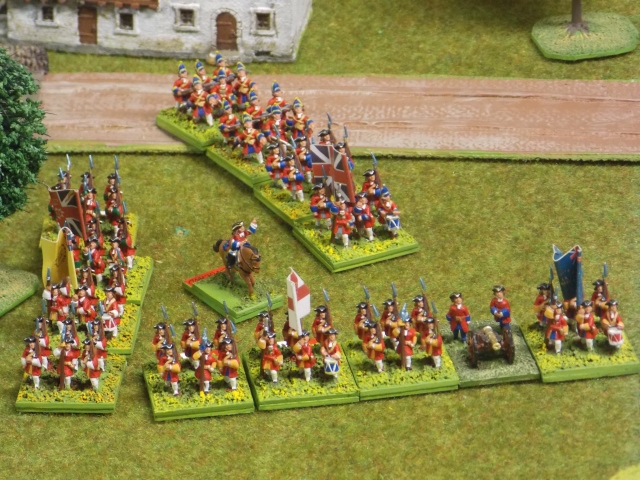
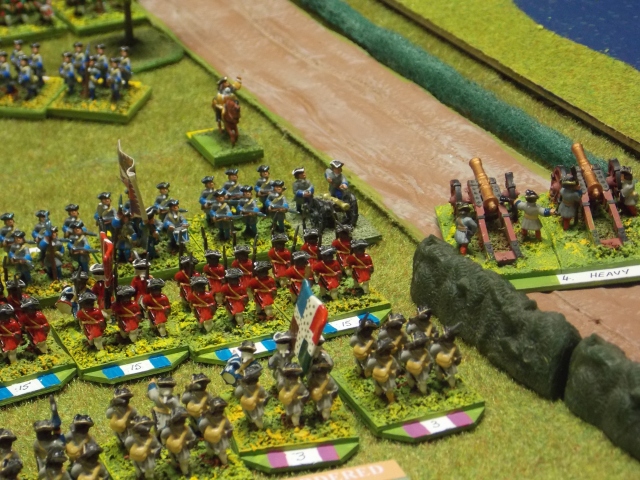
The Allied centre moving into position before the battle.
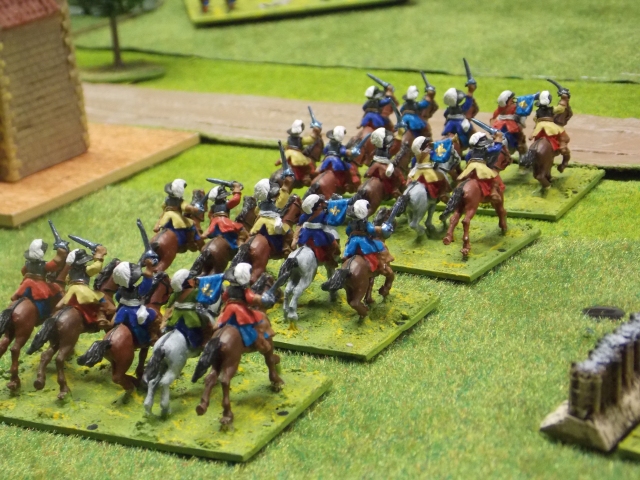
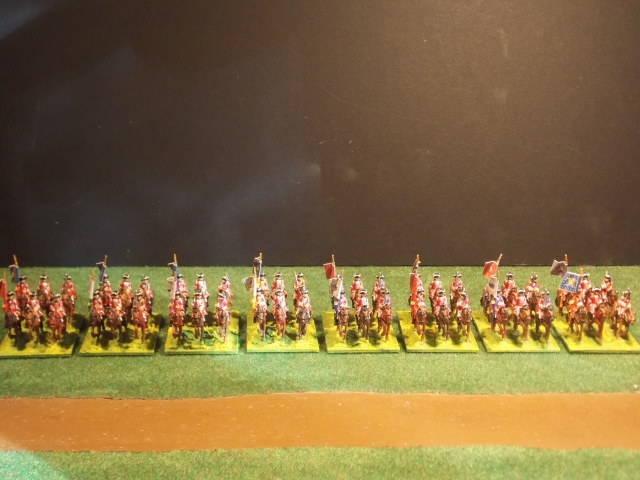
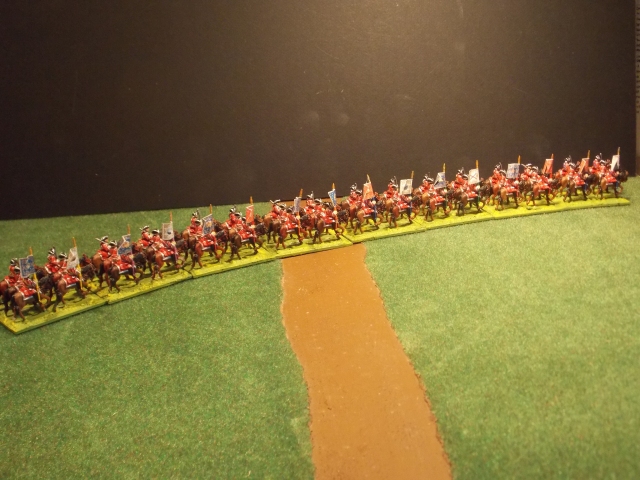
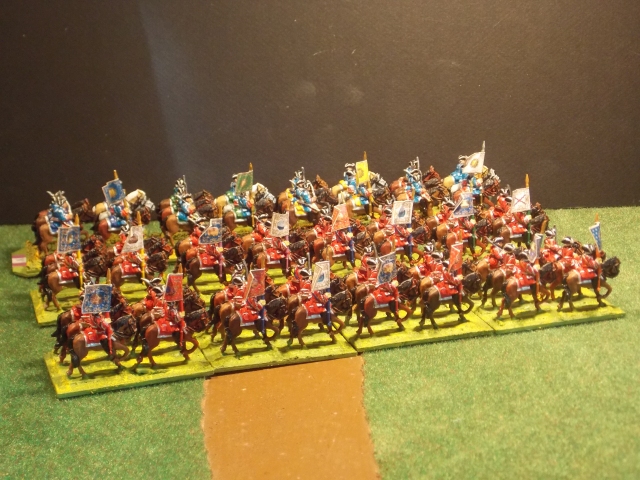
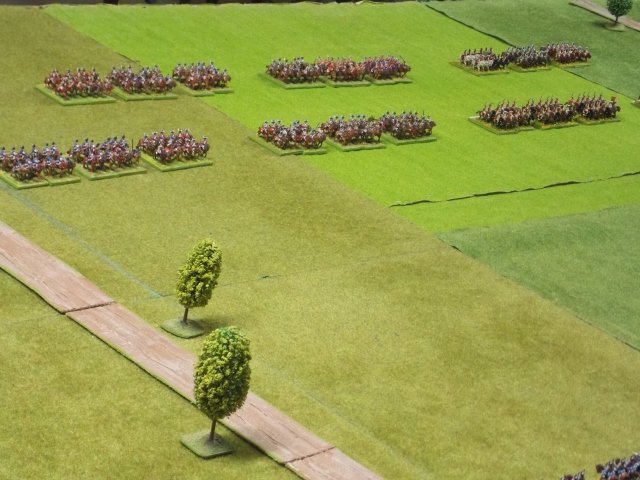
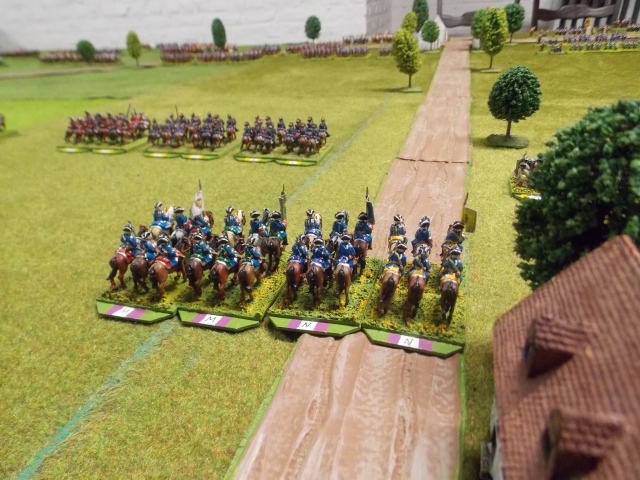
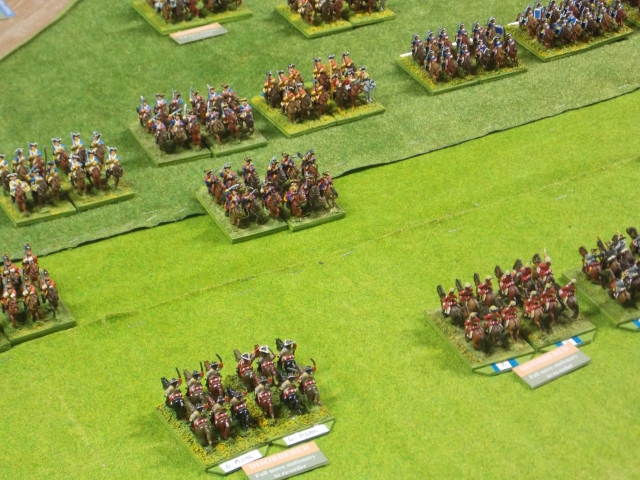
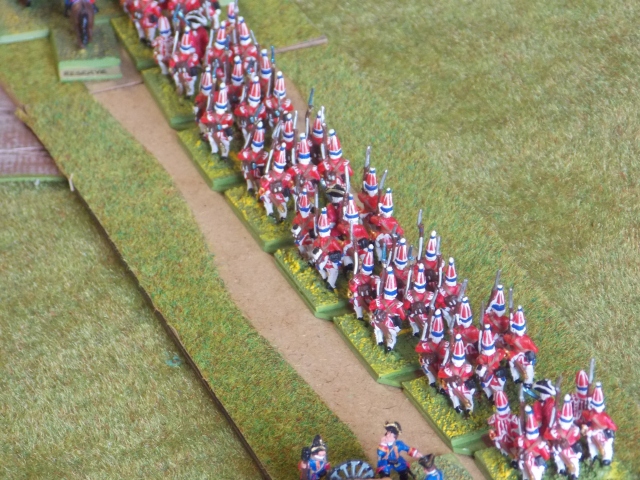
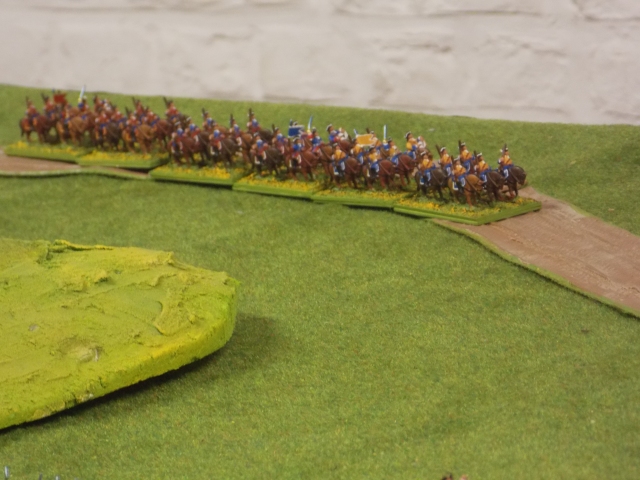
The Allied cavalry on their extreme right.
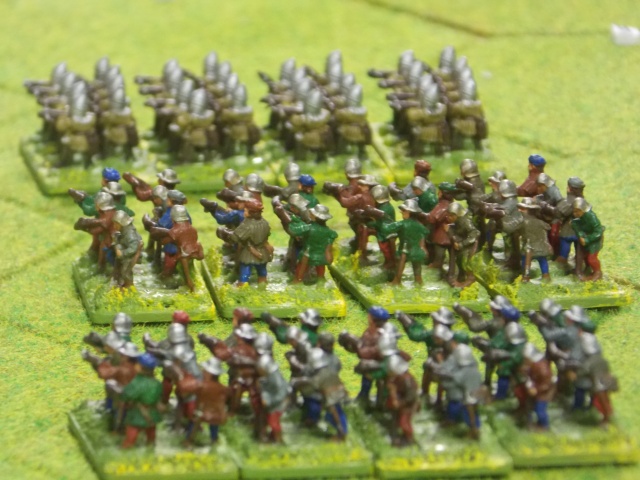
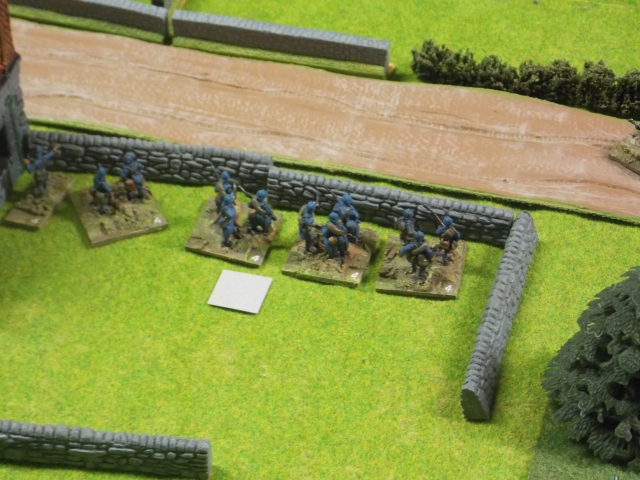
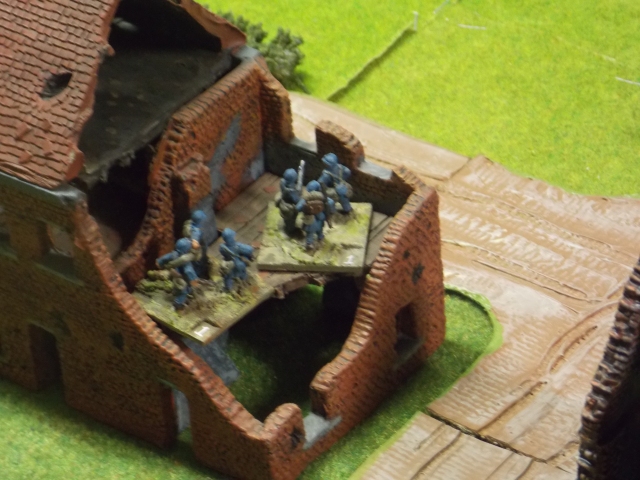
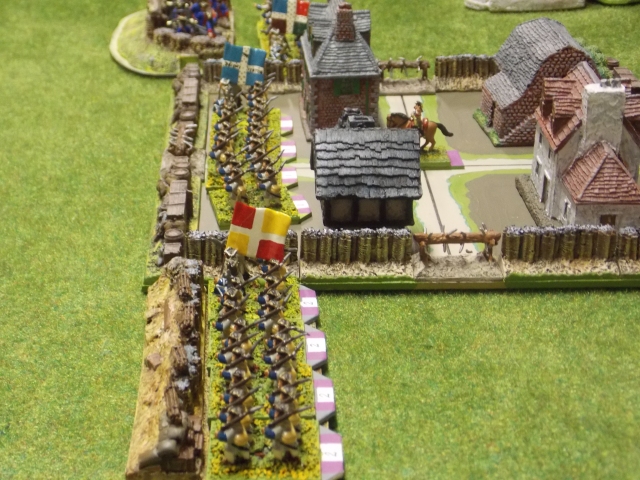
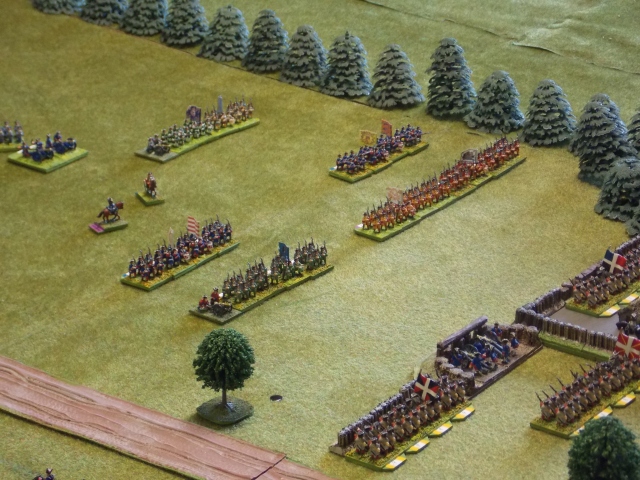
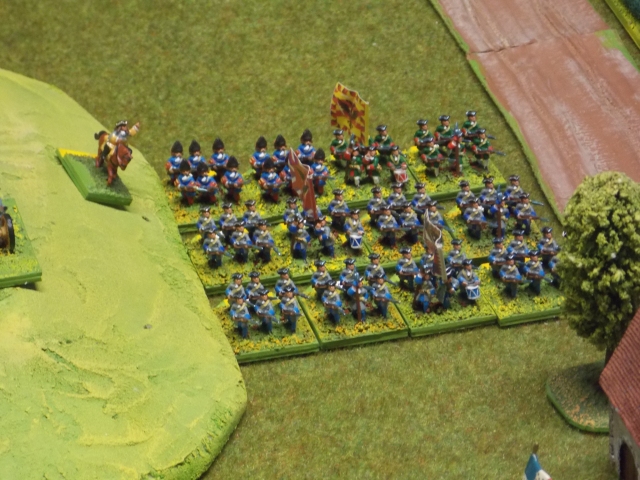
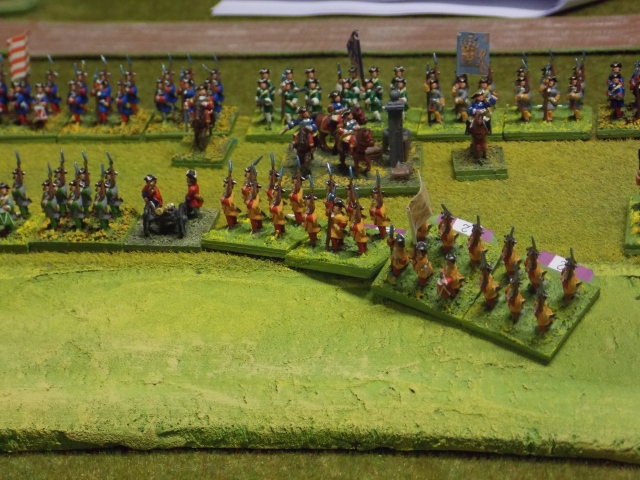
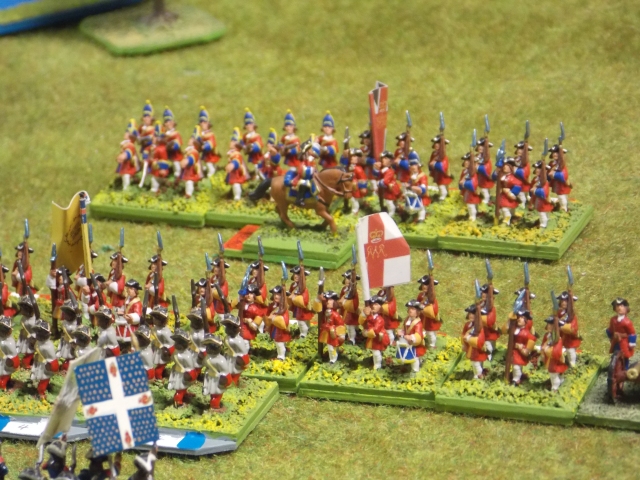
The Danish Brigade in the Allied centre. Their dogged defence of the hill would play a key role in the battle.
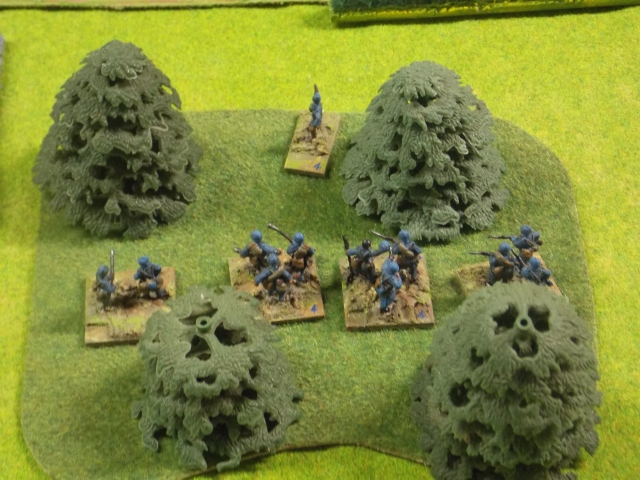
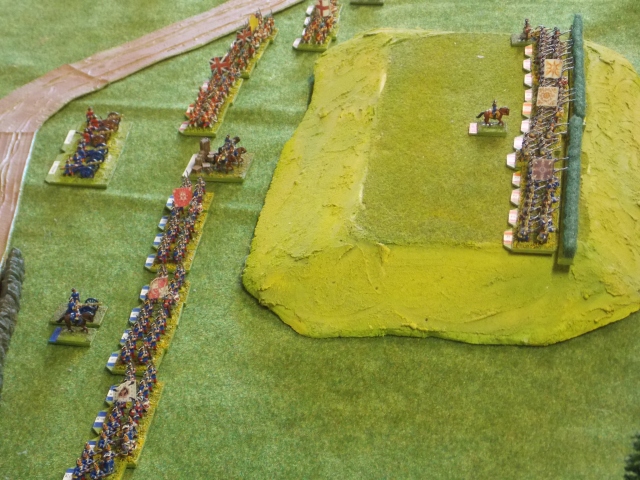
The Allies moving into position to defend the hill in their centre.
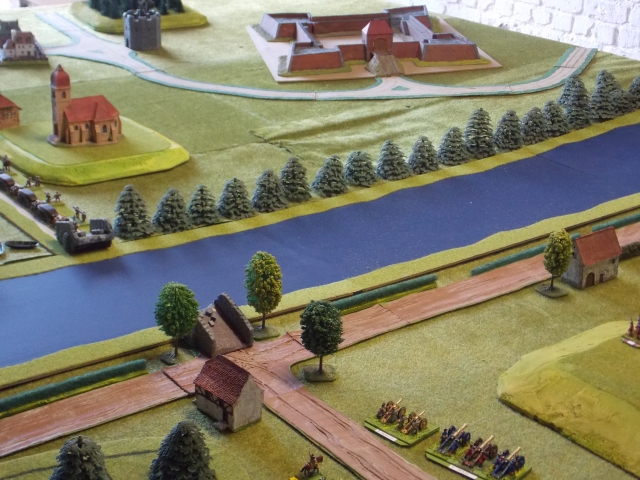
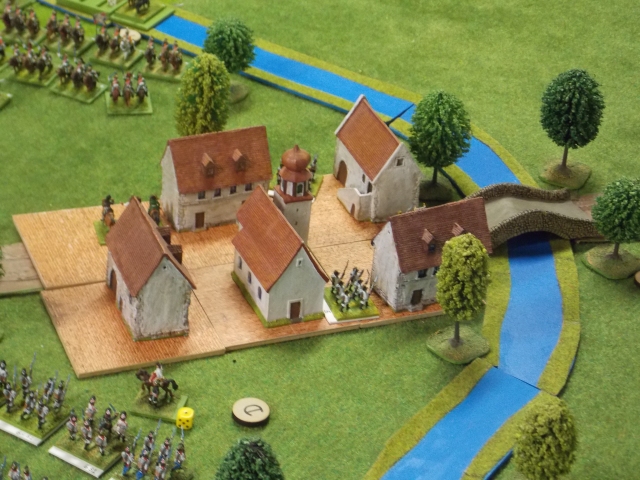
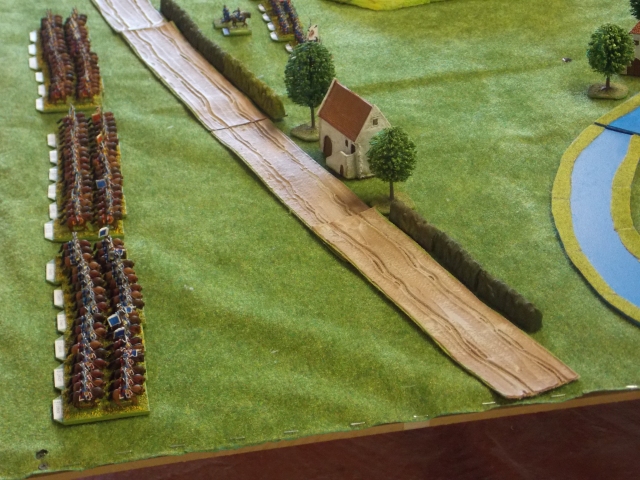
The broken bridge over the Lippe river which separated the Allied centre and left.You can see the road here going off the French side of the table. The Allies were never sure if there were French on that side of the river. In fact there were not but the chance could not be taken when their force was strung out on the march toward the bridge.
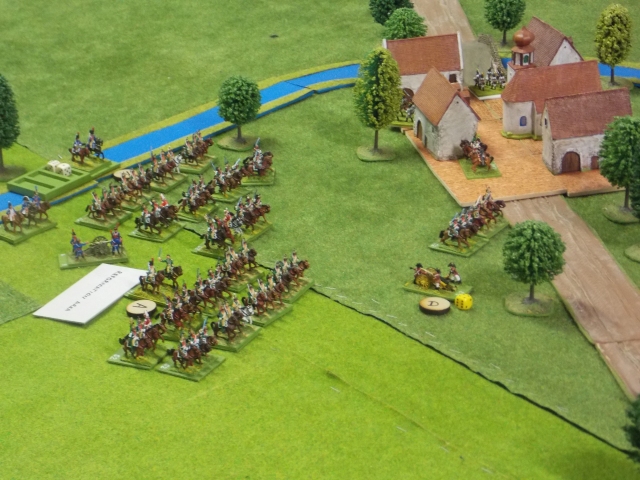
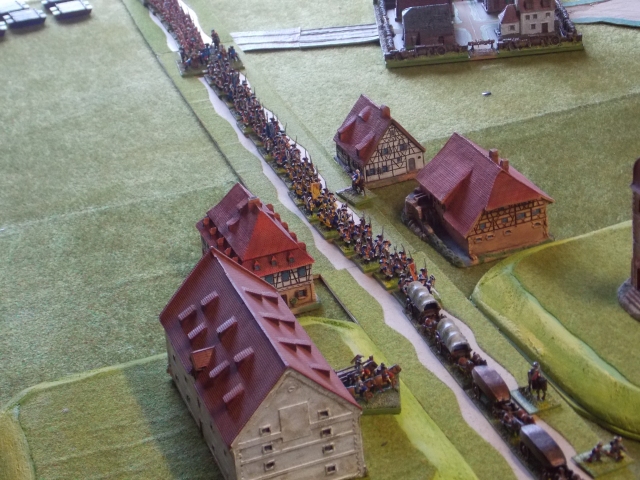
The pontoon train arrived at the broken bridge.
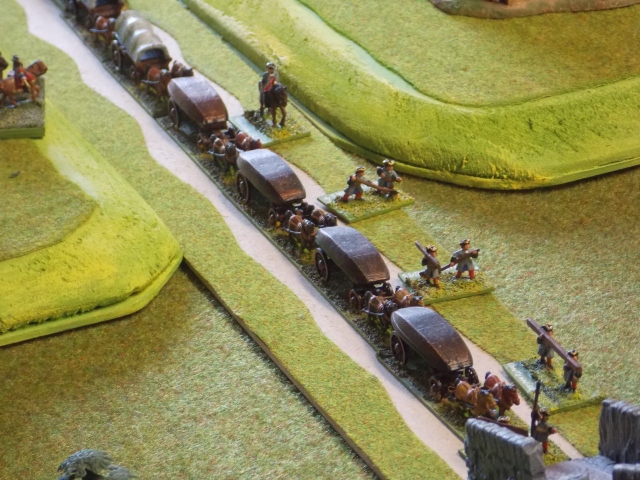
The pontoon train marching up to the river.
Behind the pontoon train the Hessians and British.
British Grenadiers marching towards the pontoon bridge.
The French right started its attack on the Allied centre.

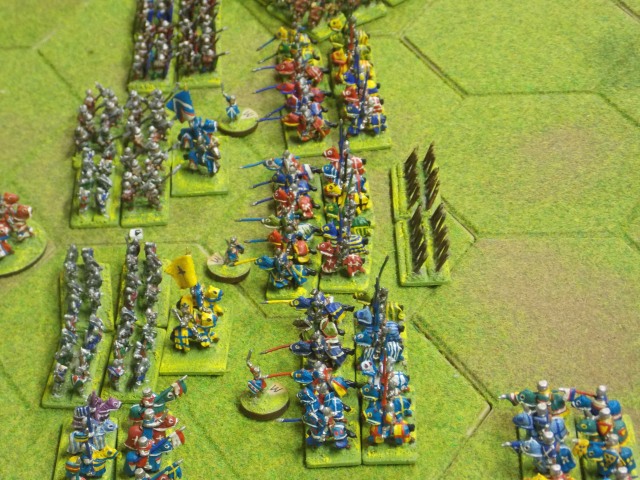
The armies come to blows. It proved to be a bloody contest.
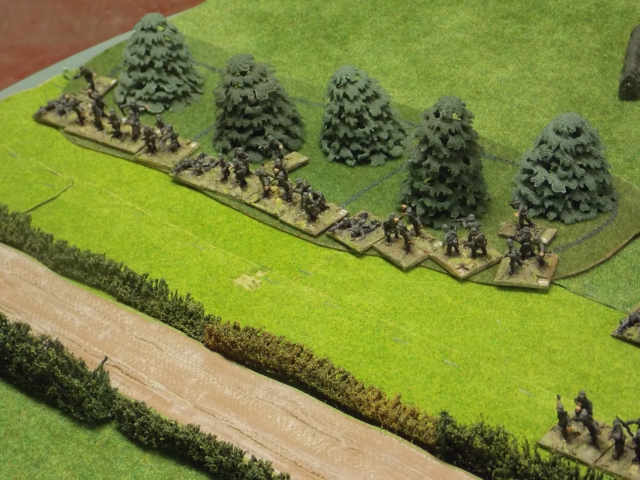
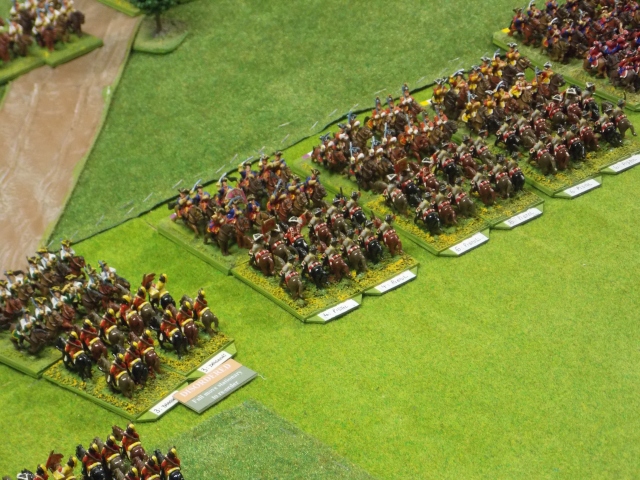
The Austrian Brigade starts it advance in three lines around the hill against the French right.
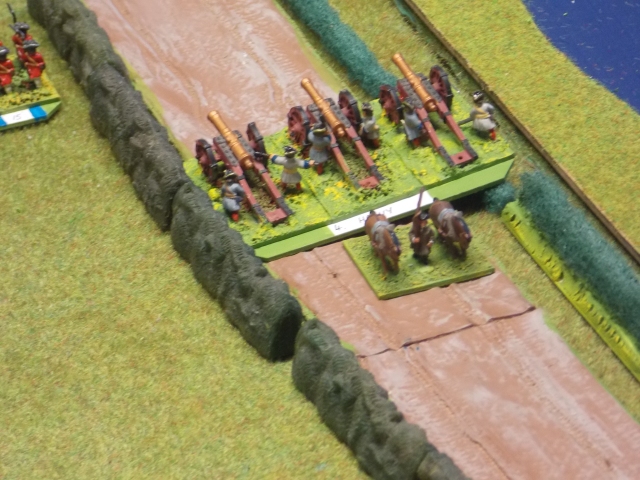
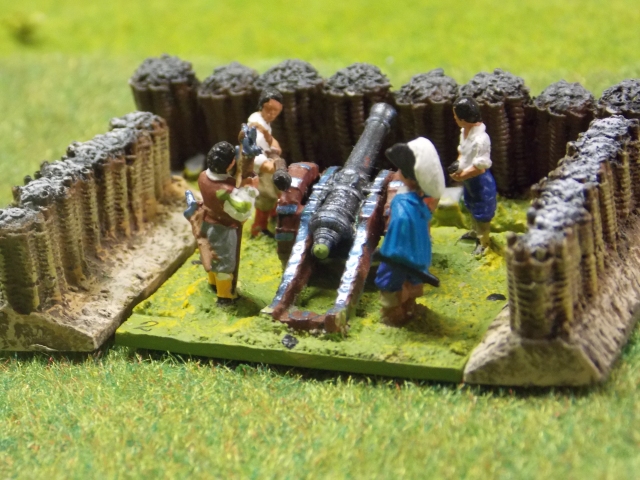
French heavy artillery set up on the road to fire upon the pontoon bridge in a effort to slow its completion. They had limited success and in fact caused little delay.
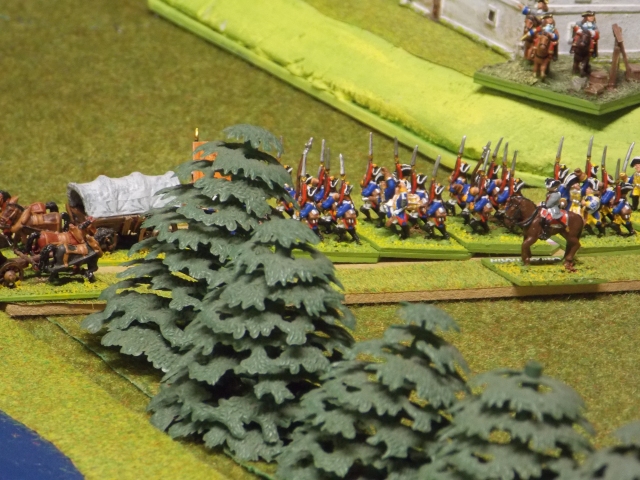
The British Brigade cross the stream to reinforce the Allied centre.
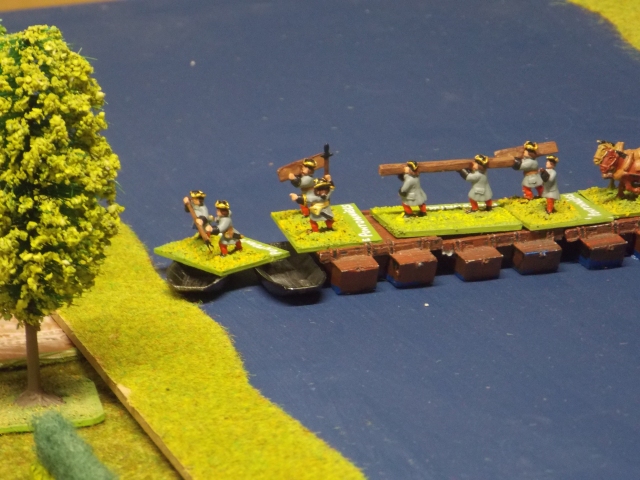
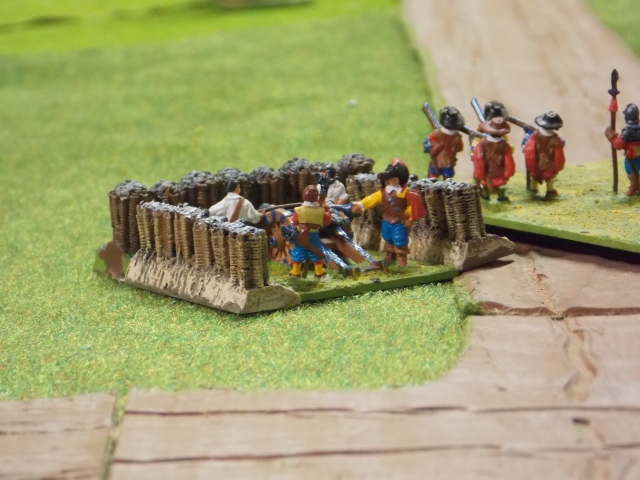
Despite the French artillery the pontonniers have nearly completed their work.
The Hessians move up ready to cross the pontoon bridge as soon as it is completed.
In the meantime the Danish Brigade continues to defend the hill against repeated French attacks. They are supported by the Reichsarmee Brigade behind.
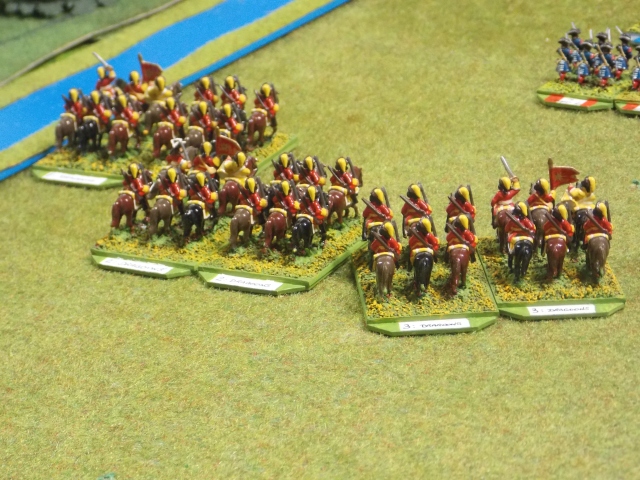
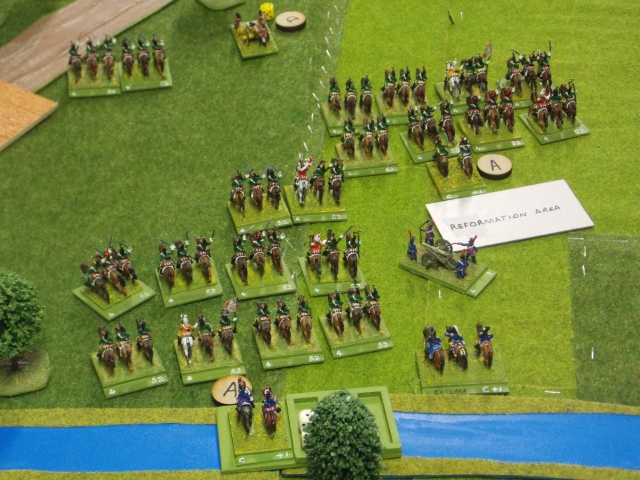
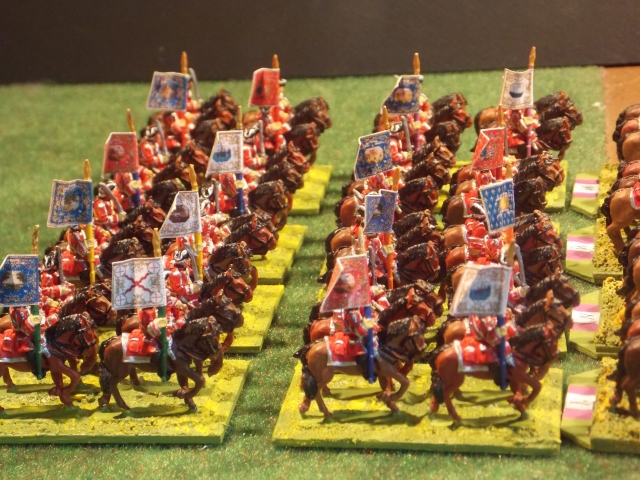
A brigade of French Dragoons hovered around the flanks looks for opportunities which never came. There was no scope for cavalry in this game.
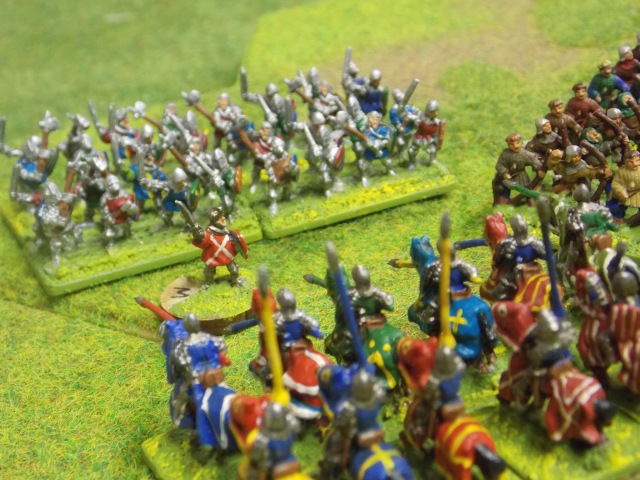
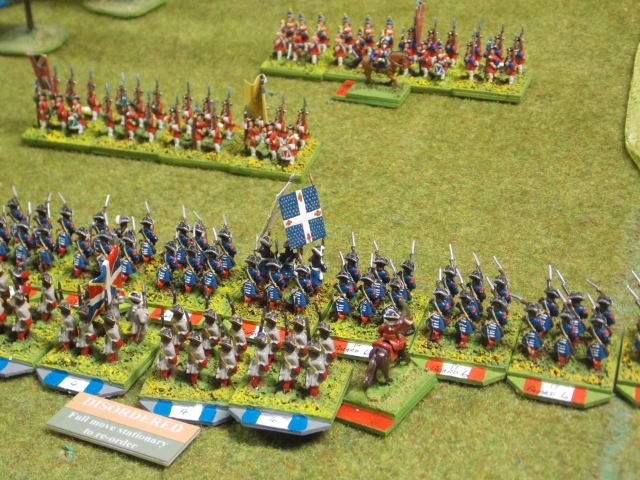
A major clash between the Austrian Brigade and the Irish Brigade in the French service. The Wild geese were driven back by the Austrians and the French heavy guns visible here had to be abandoned.
The pontonniers worked frantically to repair damage from the French heavy artillery.
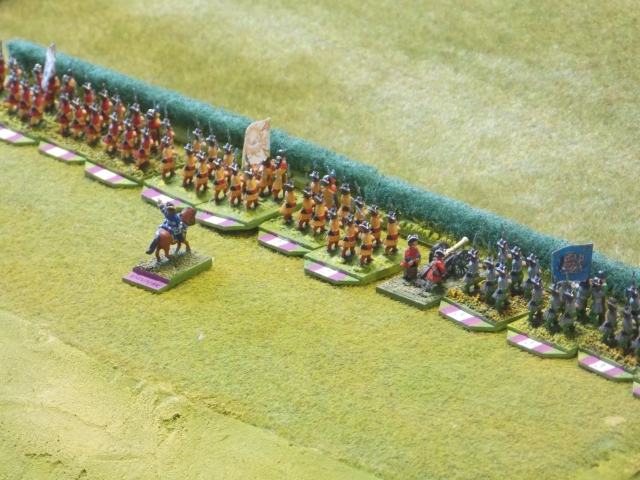
The British Brigade stood like a rock defending the side of the hill.
While all this was going on in the centre the French left eventually advanced and then stopped!
Allied cavalry started to move over to the centre when it was obvious that the French left was no longer a serious threat.
The British Brigade faced off against the Gardes Françaises. By this stage the French had collapsed and the Gardes were really only covering their retreat.

The pontoon bridge is now finished and the Hessians have started to cross. The numbers are now against the French anyway.
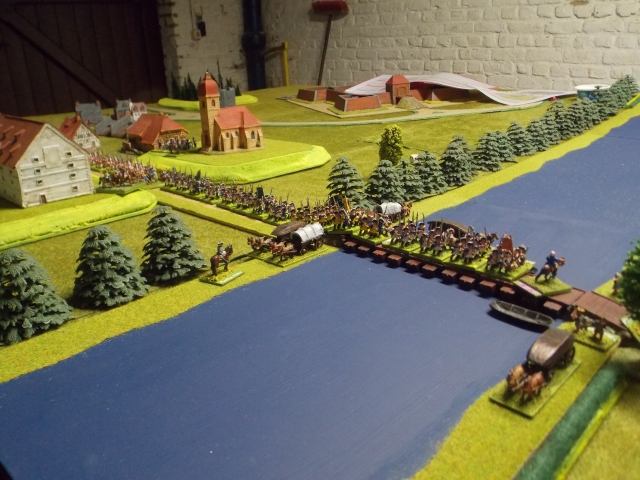
An overview of the completed pontoon bridge. The pontonniers were the heroes of the battle.